
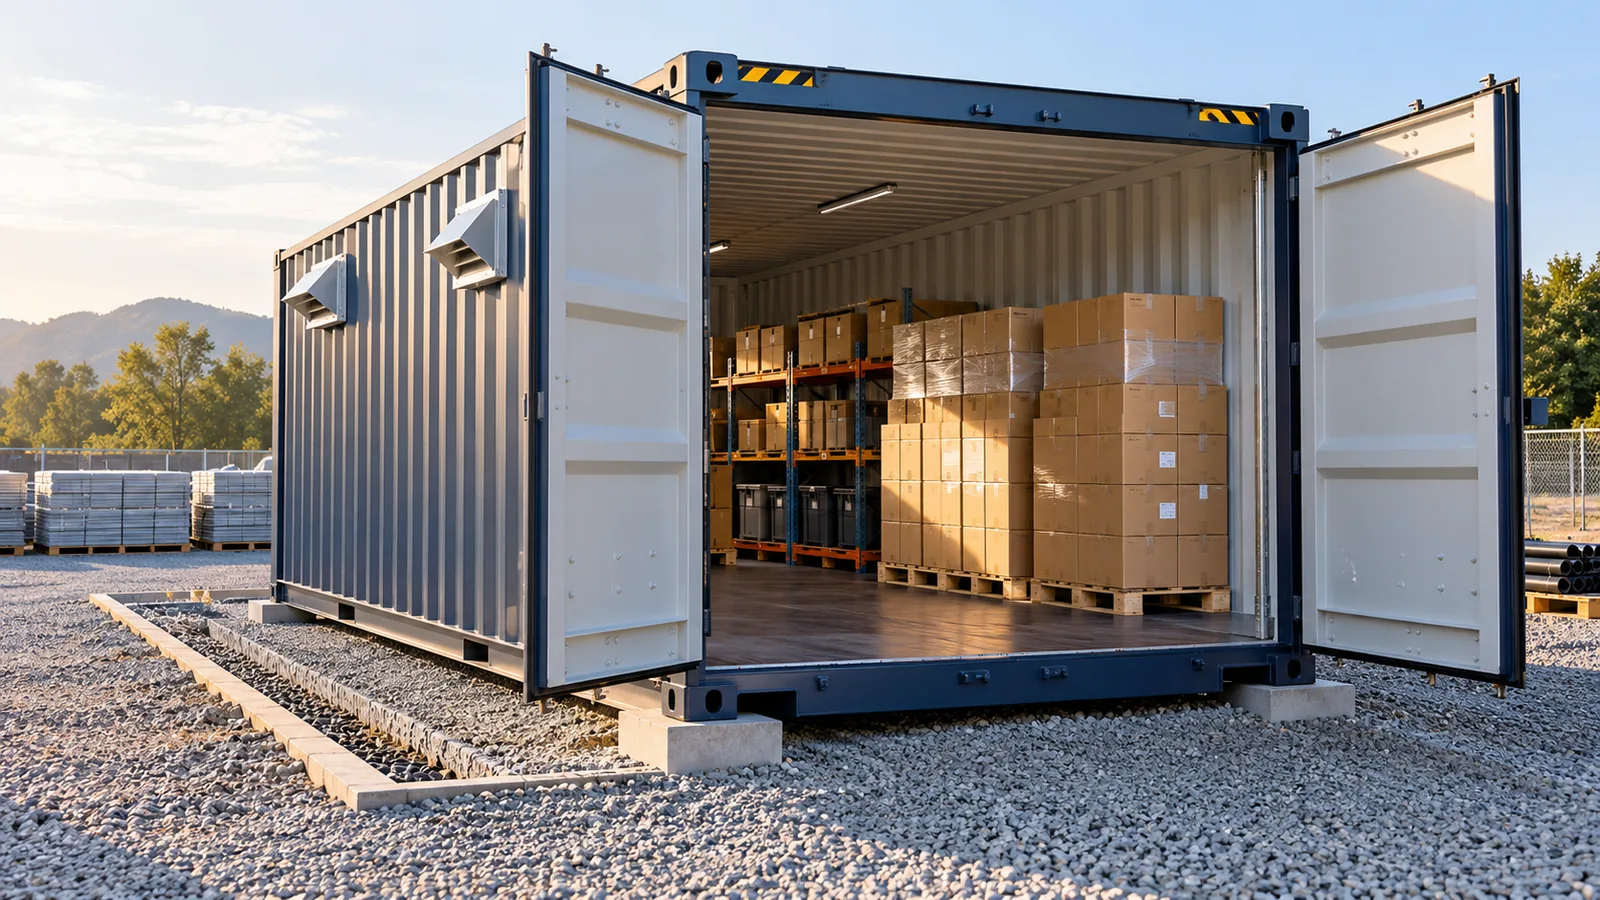

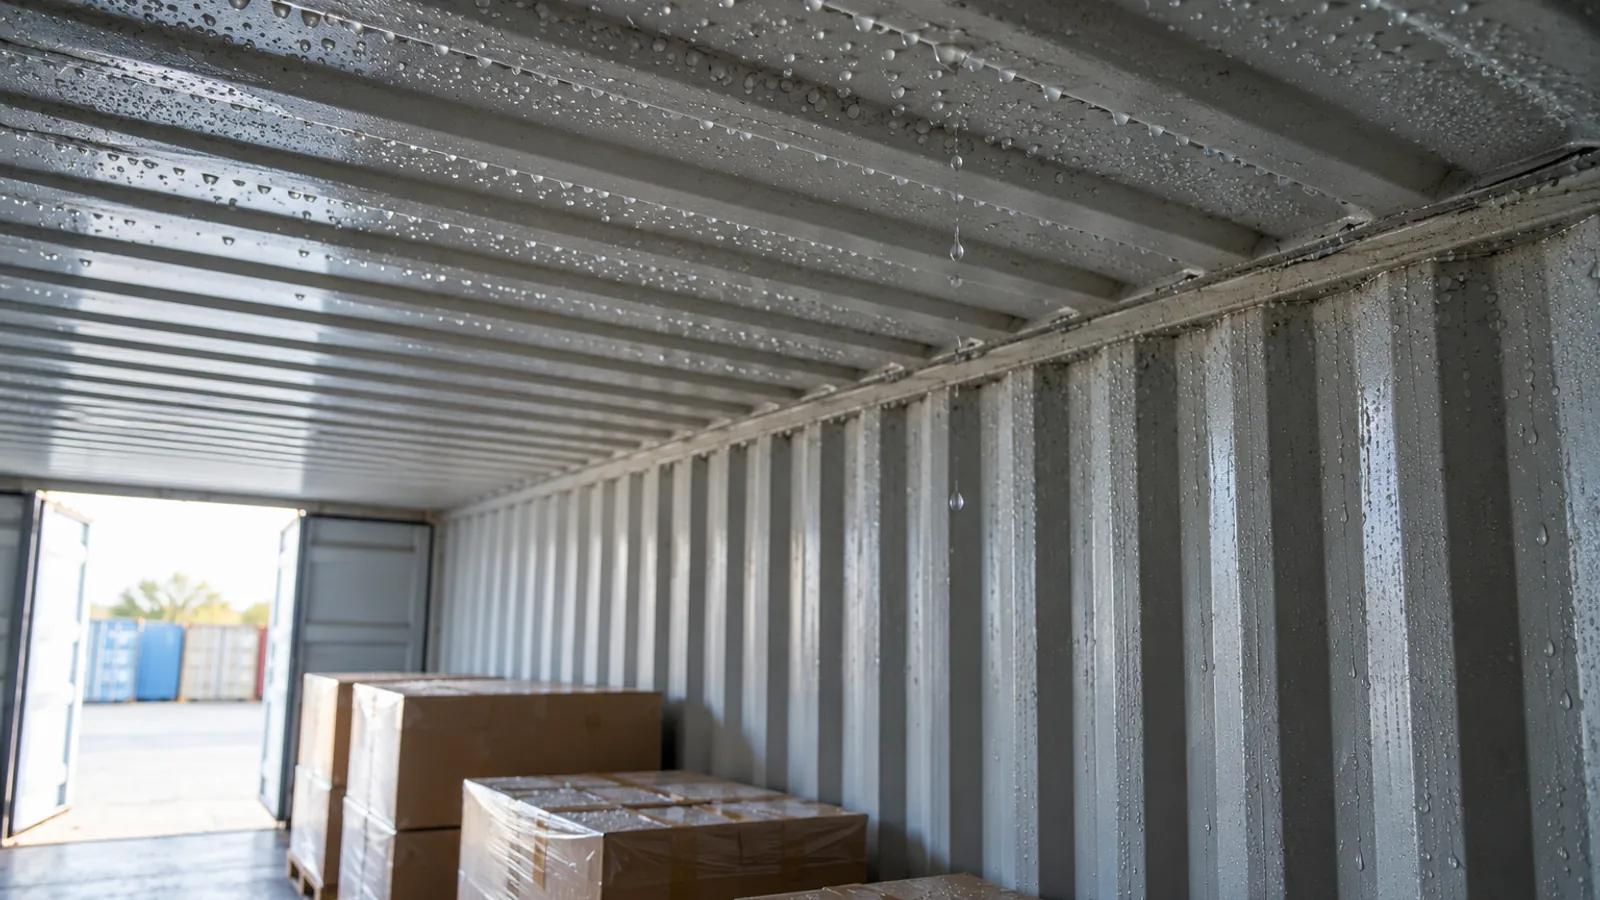
If you open a storage container and find water beads on the ceiling, damp cardboard, or a musty smell, the container may not be leaking. It may be experiencing condensation—often called “container rain.” Learning how to prevent condensation in a shipping container starts with understanding where the moisture comes from, then matching the solution to the site, climate, stored materials, and length of storage.
A steel container can be wind- and water-resistant while still developing moisture inside. The steel shell changes temperature quickly. When warm, moisture-laden air meets a sufficiently cold surface, water vapor can turn into liquid droplets. The National Weather Service’s explanation of dew point describes the underlying principle: condensation begins when air cools to the temperature at which it becomes saturated.
The right response is rarely one universal product. It is usually a layered plan: keep bulk water out, reduce moisture sources, allow appropriate air movement, protect stored goods, and use insulation or mechanical drying when the risk and value of the contents justify it. This guide walks through that process for U.S. buyers using containers for commercial, construction, equipment, household, or long-term storage.
What causes condensation inside a shipping container?
Condensation needs two conditions: moisture in the air and a surface cold enough for that moisture to condense. A container’s corrugated steel roof and walls can cool rapidly after sunset, during a cold front, or when outdoor temperature changes faster than the interior air. If the inside air carries enough moisture, droplets form on the steel. Water may then run down the walls or drip from the roof onto the contents.
Moisture can enter or accumulate in several ways:
- Damp lumber, pallets, cardboard, textiles, soil, equipment, or packaging are placed inside.
- Humid outdoor air enters when doors are opened or through intentional ventilation.
- Rainwater, runoff, damaged seals, or an exterior defect introduces liquid water.
- People or processes add water vapor inside a workshop, office, or frequently occupied unit.
- Poor drainage keeps the area below and around the container persistently wet.
This is why an empty, dry container and a container packed with recently washed equipment may behave very differently on the same property. The shell is only one part of the moisture system; the site and contents matter too.
First determine whether it is condensation or a leak
Before adding vents or buying a dehumidifier, identify the likely water source. Condensation and leaks can occur together, but they leave different clues.
| Clue | More consistent with condensation | More consistent with a leak |
|---|---|---|
| Timing | Appears after cold nights, large temperature swings, or humid periods | Appears during or directly after rain |
| Pattern | Fine droplets spread across broad roof or wall areas | Localized wet trail, seam, hole, door edge, or puddle |
| Location | Often strongest on cold metal surfaces overhead | Often traceable to a specific exterior defect or opening |
| Repeatability | Changes with temperature, ventilation, and stored moisture | Returns when water reaches the damaged area |
Inspect the roof, upper corners, door gaskets, welds, and floor in daylight. Look for punctures, failed seals, corrosion, staining, and water tracks. Do not assume every ceiling drip is “normal sweating,” and do not attempt to solve a physical leak with moisture absorbers. Repair the source of bulk water first. If the condition of a unit is still being selected, review the differences between new and one-trip containers and used shipping containers in relation to your intended use.
How to prevent condensation in a shipping container: the practical hierarchy
The most reliable approach starts with low-complexity controls and adds equipment only when the use case requires it. Work through the following sequence rather than treating any single measure as a cure-all.
1. Keep rain, runoff, and ground moisture away
Start outside. Place the container on a stable, appropriately prepared area where surface water drains away instead of collecting beneath the unit or around the doors. Keep roof debris clear and make exterior inspections part of routine maintenance. The site should also remain accessible enough for you to inspect the container after storms.
If a container has not yet been delivered, use the shipping container delivery site-preparation checklist to document the approach, placement surface, drainage concerns, and door direction. Site planning will not eliminate humidity, but it can prevent avoidable water exposure and make future inspection easier.
2. Load only dry goods and dry packaging
Wet contents can release moisture long after the doors close. Avoid loading rain-soaked pallets, damp firewood, wet tools, fresh plant material, recently cleaned equipment, or water-damaged boxes into a sealed container. Let items dry thoroughly first. Replace saturated cardboard when practical, and wipe standing water from equipment before storage.
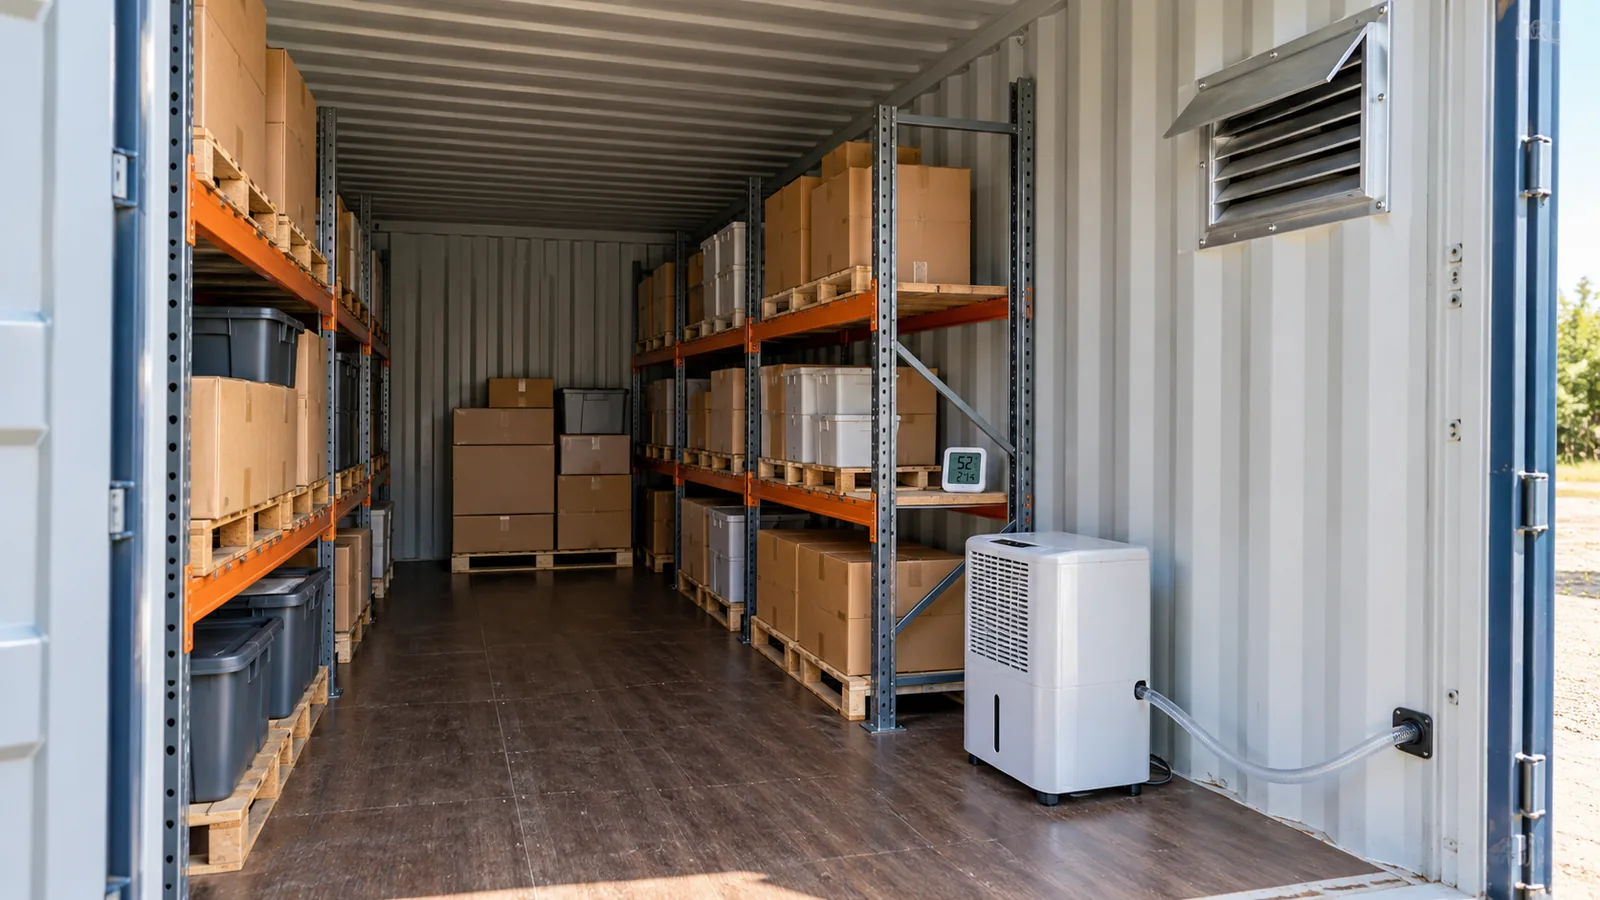
Separate goods from direct contact with the steel walls and floor. Pallets, shelving, or another suitable raised system can create inspection space and reduce the chance that a small amount of moisture reaches every box. Leave pathways so air can move and so you can see walls, corners, and the floor during checks.
3. Use ventilation deliberately
Ventilation can help when replacement air is drier than the air trapped inside. Cross-ventilation also reduces stagnant pockets and can moderate temperature differences. Passive rain-protected vents may be appropriate for some ordinary storage uses, while powered or solar-assisted ventilation may be considered when passive airflow is insufficient.
However, ventilation is not automatically helpful in every U.S. climate or season. Pulling hot, humid outdoor air into a cooler container can add moisture. In coastal or Gulf humidity, for example, uncontrolled air exchange may not provide the drying effect expected. In colder, drier weather, ventilation may be more useful. Vent type, location, weather protection, security, pest screening, and any structural modifications should be reviewed by a qualified installer familiar with containers.
4. Use desiccants for contained, manageable moisture loads
Container-grade desiccants absorb water vapor and can supplement other controls. They are most practical when the container is reasonably sealed, the contents begin dry, and the moisture load is limited. Select a product designed to contain the liquid or brine it collects, follow the manufacturer’s coverage and replacement instructions, and keep it from contacting cargo.
Desiccants are consumables, not permanent protection. A saturated unit no longer provides the same benefit, and a small packet cannot compensate for a roof leak, wet cargo, or constant humid-air exchange. Record installation dates and inspect the products on a schedule.
5. Consider active dehumidification when power and drainage are available
A properly selected dehumidifier can provide more consistent control for valuable inventory, frequently accessed storage, workshops, or converted spaces. It needs a suitable power supply, safe placement, adequate air circulation, and a reliable way to remove collected water. A full reservoir that sits unattended simply stops solving the problem.
Equipment selection should account for temperature range, space volume, air leakage, moisture load, duty cycle, and the manufacturer’s operating limits. Electrical work and permanent drainage should meet applicable local requirements. Avoid extension-cord arrangements or improvised penetrations that create new hazards or leak paths.
6. Insulate and control vapor for demanding uses
Insulation can reduce the temperature difference between interior surfaces and air, which helps limit condensation on cold steel. But insulation must be designed as an assembly, not merely placed against the walls. Gaps can allow humid air to reach hidden cold metal, where moisture may collect out of sight. The project may also need a suitable vapor-control strategy, ventilation, climate control, and fire-safe interior finishes.
For offices, workshops, sensitive inventory, or other occupied conversions, use professionals who understand metal enclosures and the local climate. Our guide to shipping container offices and custom container buildings explains how the use of the space affects planning. Moisture control should be part of the design from the beginning rather than an afterthought behind finished walls.
Which condensation-control method fits your situation?
| Method | Best suited to | Important limitation |
|---|---|---|
| Dry loading and raised storage | Nearly every storage container | Does not fix exterior leaks or extreme humidity |
| Passive ventilation | Sites where outdoor air often supports drying | Can introduce moisture when outside air is humid |
| Desiccants | Closed storage with limited moisture entry | Require inspection and replacement |
| Dehumidifier | Powered sites and higher-value contents | Needs correct sizing, drainage, and maintenance |
| Insulation system | Long-term, occupied, or temperature-sensitive uses | Poor detailing can conceal condensation |
These options are not mutually exclusive. A good system may use a drained site, dry cargo, raised shelving, monitoring, and one or more active controls. Choose based on the consequence of failure. A few weather-resistant tools may justify a simpler plan than records, electronics, textiles, inventory, or equipment vulnerable to corrosion.
Adapt the plan to your U.S. climate and storage pattern
National advice must be adjusted to local conditions. Humid coastal and southern areas can carry high outdoor moisture for long periods. Northern locations may have sharp temperature drops and cold steel surfaces. Arid regions can still experience large day-to-night temperature swings. Seasonal rain, snow carried in on equipment, freeze-thaw cycles, and site drainage can all change the risk.
How often the doors open matters too. Frequent access exchanges indoor and outdoor air, while long sealed periods make the original moisture load and desiccant capacity more important. A container in daily commercial use behaves differently from household goods stored untouched for six months.
Do not copy a vent count, dehumidifier setting, or insulation thickness from a climate that does not resemble your own. Observe the actual site, track conditions, and get qualified advice for conversions or high-value storage. The U.S. Environmental Protection Agency’s moisture-control guidance, although written for buildings, reinforces the core principles: control moisture sources, increase appropriate ventilation, and address condensation promptly.
Monitor conditions instead of guessing
A basic temperature and humidity monitor can reveal when conditions change. Place it where it reflects the stored area rather than directly beside a door, vent, dehumidifier outlet, or sun-heated wall. For higher-value contents, a data logger can show overnight and seasonal patterns that a single reading misses.
Use observations alongside the readings. Check for ceiling droplets, wall streaks, soft cardboard, corrosion, odors, saturated desiccants, blocked vents, and water near the doors. Document what changed before a problem appeared: new cargo, a storm, a long closed period, a failed drain, or a change in outdoor conditions.
There is no single humidity number that guarantees every material is safe. Paper, wood, textiles, metals, electronics, and regulated inventory have different tolerances. Follow the storage guidance for the actual contents and seek specialist advice where product quality, health, or compliance is involved.
A simple inspection and maintenance schedule
Before loading
- Inspect the roof, doors, seals, walls, and floor for damage or water tracks.
- Confirm the placement area drains and the doors operate normally.
- Make sure the interior and all cargo are dry.
- Choose the ventilation, monitoring, and moisture-control plan.
After loading
- Keep goods raised and leave inspection paths around critical areas.
- Record the initial temperature and humidity conditions.
- Verify that vents are unobstructed and weather protection is intact.
- Check dehumidifier drainage or desiccant placement before closing.
During storage
- Inspect after severe weather and major temperature changes.
- Review monitor trends rather than relying on one reading.
- Replace saturated desiccants and service equipment as directed.
- Investigate new odors, rust, staining, or damp packaging immediately.
Common mistakes that make container moisture worse
Treating every drip as a roof leak: Repairs will not solve dew-point condensation if the shell is intact. Diagnose the pattern and timing.
Treating every drip as condensation: A puncture, failed door seal, or concentrated water track still needs physical repair.
Loading wet material: Closing damp pallets or equipment inside traps the very moisture you are trying to remove.
Blocking airflow: Boxes packed hard against walls and ceilings create hidden pockets and make inspection difficult.
Using household moisture absorbers as the only control: Their capacity may be too small for the volume or moisture load, and they require servicing.
Ventilating without considering outdoor humidity: Air exchange helps only when it supports drying rather than importing more water vapor.
Installing insulation without a complete assembly: Gaps and poor vapor detailing can move condensation behind the finished surface where it is harder to detect.
Choose the container with the storage plan in mind
Container size, condition, access frequency, and intended contents all affect moisture management. A smaller unit packed tightly may leave less room for circulation and inspection. A larger unit may need a more deliberate airflow or dehumidification plan. Use our 20ft versus 40ft container comparison to evaluate footprint and capacity, then consider how you will load, inspect, and protect the actual goods.
If general storage is the goal, the guide to shipping containers for storage in the USA provides broader planning context. Once you know the preferred size, condition, use, delivery ZIP code, and site constraints, you can request a shipping container quote from MS Container Solutions.
Build a moisture plan before the doors close
Preventing container rain is easier when moisture control is treated as part of the storage design. Begin with a sound container and drained site. Load dry goods, keep them raised, preserve inspection space, and choose ventilation based on real outdoor conditions. Add desiccants, dehumidification, or a properly designed insulation system when the contents and climate call for more control.
The key is to monitor and adjust. A storage setup that works during a dry month may need attention during a humid season or cold snap. By identifying the moisture source and using layered controls, you can protect the container and its contents without relying on a one-size-fits-all claim.
Warm, moisture-laden air can condense on a cold steel roof or wall when the surface reaches the dew point. Damp cargo, humid air, temperature swings, and poor air movement can all contribute even when rain is not entering through the shell. Start by eliminating leaks and wet cargo, improving drainage, keeping goods raised, and monitoring conditions. Appropriate ventilation, container-grade desiccants, a dehumidifier, or a professionally designed insulation system may then be added according to climate, power, storage duration, and the sensitivity of the contents. Vents can help when they replace moist interior air with drier outdoor air and provide useful cross-flow. They may be less effective when outdoor air is very humid, so vent design and local climate should be considered rather than assuming ventilation alone will solve every moisture problem. A dehumidifier can be useful for powered sites, valuable goods, frequently accessed storage, or spaces that need more consistent control. It must be selected for the operating conditions and have safe power, airflow, maintenance, and condensate drainage. A properly designed insulation and vapor-control system can reduce condensation by keeping interior surfaces warmer. Poorly installed insulation can hide moisture against the steel, so occupied conversions and sensitive-storage projects should be designed and installed by qualified professionals.Frequently Asked Questions
Why is my shipping container wet inside even when it does not leak?
What is the best way to stop condensation in a shipping container?
Do shipping container vents stop condensation?
Should I use a dehumidifier in a shipping container?
Can insulation prevent container rain?