
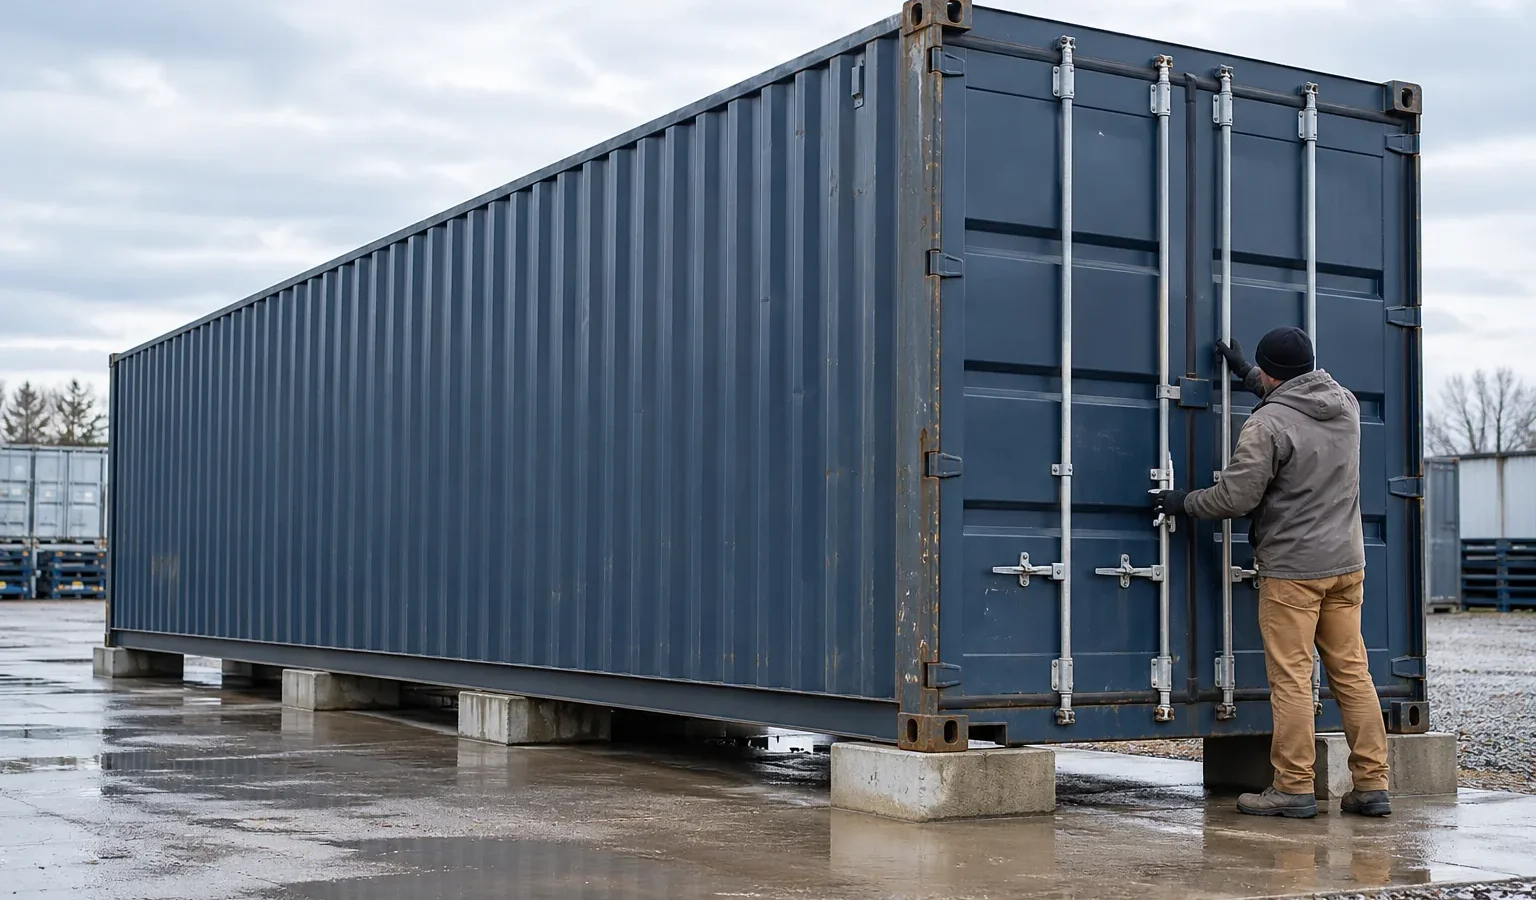

A shipping container can stay useful for years when the owner catches small problems before they become roof leaks, seized doors, or corrosion around the frame. The practical routine is simple: keep water and debris from sitting on the steel, look closely at the roof and door seals, operate the doors regularly, and check that the container still sits on sound, well-drained support.
This shipping container maintenance checklist is intended for buyers using a dry container for storage, a jobsite, inventory, or a future conversion. It is general guidance, not a substitute for a condition assessment of a particular unit or for the advice of a qualified repair professional when structural damage is suspected. For a broader inspection cross-check, review Chubb’s ocean/intermodal container inspection checklist.
Start With Water, Not Paint
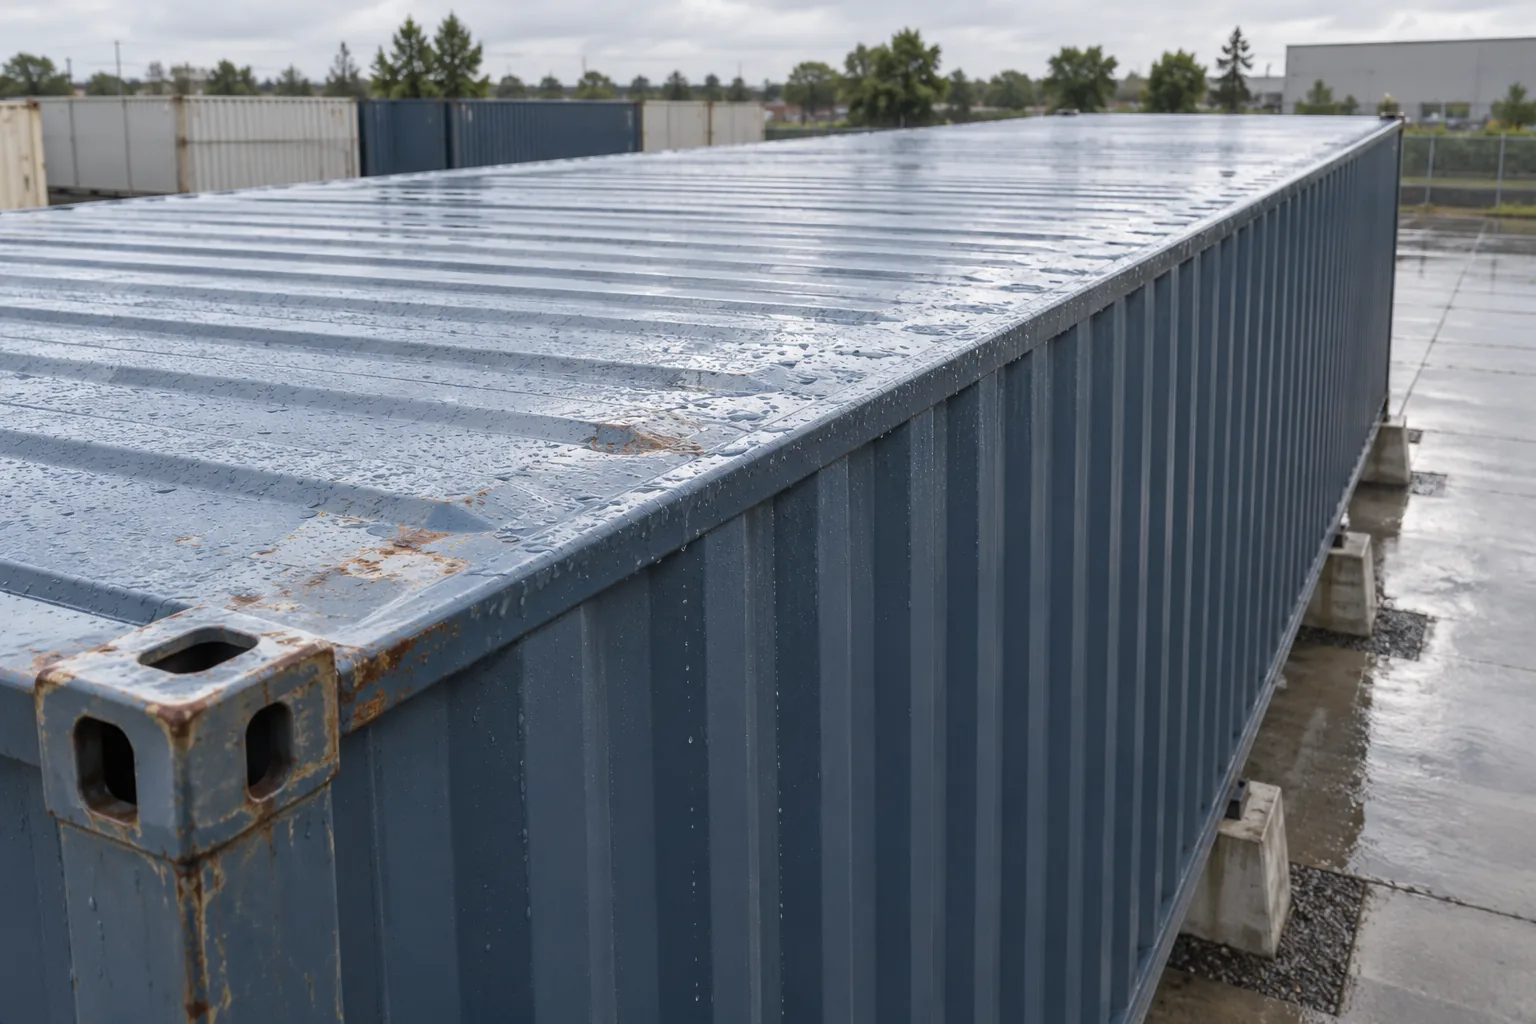
Most avoidable container problems begin with water staying where it should not. A container roof is designed for transport, but dents, damaged coatings, leaf buildup, and long periods of standing water can make one small area work harder than the rest of the roof. Look at the unit after rain when practical. Pooled water, fresh rust streaks, stained ceiling panels, or drips inside all deserve attention.
Keep the ground around the unit clear enough that water can drain away. A container should not sit directly in standing water or on a surface that traps water against the lower rails. Good support and drainage also make it easier to see the underside, notice settlement, and keep the door end workable.
Shipping Container Maintenance Checklist: A Routine Inspection
A short walk-around a few times a year—and after major weather—helps distinguish normal cosmetic wear from a change that needs action. Use the same order each time so the roof, corners, doors, floor, and supports do not get overlooked.
- Walk the exterior. Look for new dents, torn steel, exposed bare metal, open seams, or rust that is flaking rather than light and surface-level.
- Check the roof from a safe position. Do not climb onto a container without an appropriate safe-access plan. From the ground or a suitable platform, look for debris, ponding, damaged coating, or obvious repair areas.
- Open and close both cargo doors. They should operate without forcing them. Note stiff hinges, misaligned locking bars, damaged cams, or a door that will not seat evenly.
- Inspect the rubber gaskets. Look for cracks, missing sections, hard spots, or debris that prevents a continuous seal.
- Step through the interior. Check for water staining, moisture, unusual odors, pest evidence, soft flooring, loose fasteners, or daylight where it should not appear.
- Look at the base and supports. Confirm the container has not obviously settled, twisted, or begun to hold water beneath the frame.
Photograph a new concern before cleaning or repairing it. A simple dated photo record can make it easier to compare a small rust spot or roof dent over time.
How to Read Rust Without Overreacting
Used containers often have scratches, faded paint, small dents, and light surface rust. Those marks can be cosmetic and do not automatically mean the container is failing. The decision changes when corrosion has become deep, scaled, perforated, or located around a critical connection, lower rail, corner post, door frame, or previous repair.
Pay special attention to places that trap water or lose their protective finish: roof dents, welded patches, door thresholds, corners, the lower portion of the side walls, and areas around added openings. If a scratch has exposed steel, clean and dry the area before using a coating system appropriate to the substrate and repair. Match the repair method to the condition; painting over wet, loose, or heavily corroded metal does not solve the underlying issue.
For a container that is still being evaluated for purchase, use the used shipping container inspection checklist before accepting the unit. Maintenance is most effective after the buyer understands the starting condition.
Keep Cargo Doors Working Before They Become an Access Problem
Cargo doors do more than secure the container. They are part of the weather barrier, and their alignment can reveal whether the container has settled or sustained damage. Open both doors periodically rather than leaving them untouched for a long season. Clear packed dirt and debris from the threshold, inspect the gasket contact surface, and check the hinges, locking bars, cams, keepers, and handles for visible wear or damage.
Use a suitable lubricant only where the hardware manufacturer or repair professional recommends it. Avoid putting a slippery product on the gasket face itself, where it may attract dirt or interfere with the seal. If a door needs excessive force, does not latch squarely, or has a visibly distorted frame, do not treat it as a minor inconvenience. Find the reason before relying on the container to stay secure or weather-resistant.
Watch the Interior for Condensation and Leaks
Not every damp interior means a roof hole. Condensation can form when warm, moist air inside meets cooler steel. Wet goods, poor airflow, blocked vents, and large temperature swings can all add moisture. A leak often leaves a more localized clue: a stain near a roof seam, wetness after rainfall, light entering through a panel, or moisture concentrated at a damaged seal.
Store only dry goods when possible, keep cartons and materials off the floor with pallets or dunnage, and leave enough space for airflow. Do not block existing vents. Where condensation continues, reassess the stored items, ventilation, insulation design, drainage, and whether a dehumidification approach is suitable for the use. Our guide to preventing shipping container condensation explains the difference between moisture control and simply trying to air out a wet container.
Protect the Floor and the Area Under the Container
The floor deserves a close look because damage there can go unnoticed until loading becomes unsafe or stored goods are affected. Sweep out abrasive debris, inspect for soft areas, raised fasteners, stains, and signs of water coming in at the doors or walls. Ask a qualified professional for advice before applying a coating or making a repair where prior cargo, chemical staining, or significant floor damage is involved.
Outside, check that the supports remain stable and that the container is not bearing unevenly. The right base depends on soil, load, local conditions, and intended use; a container should not be treated as though four random blocks are always a universal foundation plan. If you are placing a new unit, use the delivery site preparation checklist to plan access, ground conditions, placement, and door orientation before delivery.
Maintenance Changes With the Container’s Job
Storage Containers
For tools, inventory, seasonal materials, or jobsite supplies, keep the loading pattern practical. Heavy items should not damage the floor or trap access to the doors. Leave a walkway for inspection, keep moisture-sensitive goods elevated, and check the door seal before a long storage period. A 20ft shipping container can be easier to inspect and organize on a compact site, while a 40ft container adds floor area that also needs a clear maintenance path.
Office and Conversion Projects
Once a unit has windows, personnel doors, electrical equipment, insulation, HVAC, plumbing, or other modifications, those items introduce additional inspection points. Check seals around added penetrations and follow the maintenance instructions for the installed components. Do not assume a container shell arrives as a completed, code-ready workspace. If you are planning a project-space shell, start with the requirements on the office containers page and confirm the actual scope in writing.
High Cube and Refrigerated Units
A high cube gives more exterior height, so site access and overhead clearance still matter during any repair or inspection planning. For a reefer, the container body and the refrigeration machinery are different maintenance questions; electrical, refrigeration, and temperature-control work should be handled by appropriately qualified technicians. Review the reefer container requirements before assuming that a dry-container checklist covers a refrigerated unit.
A Seasonal Maintenance Schedule
| When | What to check | Why it matters |
|---|---|---|
| After heavy weather | Roof, door seals, water stains, drainage around the base | Catches new water entry or debris before it becomes corrosion. |
| Every few months | Exterior coating, rust, doors, floor, vents, support and level | Creates a repeatable baseline for a storage or jobsite container. |
| Before a long storage period | Dry goods, clear floor, door operation, gasket condition, pest evidence | Helps protect contents while the container remains closed. |
| After modifications or impact | Added openings, seals, frame alignment, coating damage, drainage | Confirms the altered area is not allowing water in. |
The exact interval should reflect local weather, proximity to salt air, how often the doors are used, stored contents, and the starting condition of the container. A container near the coast or in a wet, debris-heavy setting may need more frequent checks than a lightly used container in a dry, protected location.
When to Stop and Get a Professional Assessment
Pause before loading or modifying a container if you see a hole, a roof area that holds water and appears weakened, severe rust-through, a bent corner post, distorted rails, a door that will not close safely, major floor deterioration, or unexplained persistent water entry. These are not good candidates for a quick cosmetic fix. The correct response depends on the damage, intended use, and whether structural, transport, or building requirements apply.
A practical quote request also gives the supplier context: tell us the desired size, condition preference, intended use, delivery ZIP, and any site-access constraints. Browse shipping containers for sale or request a container quote when you are ready to discuss a unit suited to your project.
Frequently Asked Questions
How often should I inspect a shipping container?
Check it after major weather and at regular intervals based on local conditions, use, and stored contents. A short recurring walk-around is more useful than waiting until a leak or seized door appears.
Is surface rust normal on a used shipping container?
Light surface rust, scratches, and faded paint can be normal on a used container. Rust that is deep, flaking, perforated, or located around critical structural areas needs closer assessment.
What causes a shipping container to leak?
Common causes include roof damage or ponding, failed coatings, open seams, damaged door gaskets, altered openings, and water collecting around the container. Inspect after rain to identify where moisture is entering.
Should a container sit directly on soil?
A container needs stable, well-drained support appropriate to the site and planned load. Placing it where water sits against the frame can accelerate corrosion and make doors harder to operate.
Can I lubricate shipping container doors?
Use a suitable product on hinges and locking hardware only where appropriate, keeping gaskets and sealing surfaces clean. If a door requires force or will not align, identify the underlying cause rather than relying on lubricant alone.